I've been attempting to keep up with the blog as much as I can lately. It's been a busy few weeks since my return home. As you've probably noticed, most of what I've posted is not really "new" to the truck, in a sense that I've had it all installed for a couple months now. My overall goal is to document (in as chronological order as possible) my truck build for others to follow and ask questions. I find that it helps to have a decent source of advice and a few photos of how someone else has done something in order to help with your own build.
In this post, I'll be providing an overview of how I installed the 12v DC port in the bed of the truck in order to power the Snomaster 66L Expedition Series fridge.
Gathering Materials
The first step in any build is to compile a list of everything you think you need, order it off amazon, and then run around town furiously for everything you forgot you needed.
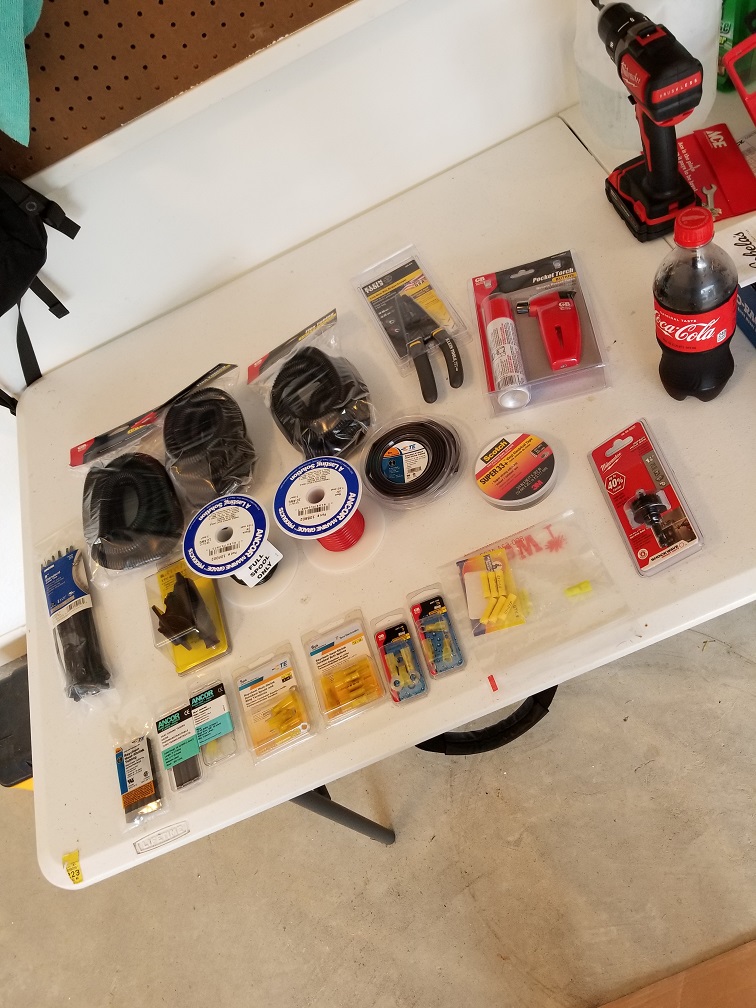
1. 25ft Black and Red 10 AWG Ancor wiring
2. BlueSea Systems 12v DC port w/ Plug
3. Misc Heat Srink Tubing
4. Misc Ring terminal ends (I bought a bunch because I wasn't sure what size I needed for the battery end)
5. Female Terminals (for the end that connects onto the 12v plug)
6. 1-1/8" Hole Saw
7. Coke / Drink of choice
I bought two separate cables because I couldn't find the combined cable anywhere in town and I didn't want to wait another 2-3 days for Amazon.
Additionally I had gotten two packages of 8ft heat shrink tubing. This isn't really needed, but I wanted to "join" the two cables together to make them easier to manage.
Word of advice, while the "straight" female terminal ends will fit in the location that I placed the 12v plug, I would strongly recommend getting some 90 degree right angle ones if possible.
Planning & Prepping
I wanted to put my port near the rear, in order to give the fridge cable enough room to slide in and out on the bedslide from almost anywhere on the slide. Meaning I could position the fridge how I best saw fit.
I also spent some time combining the two separate strands of wire into one. I shoved both through the heat shrink tubing I had, making sure to leave enough room for the ends and more to work with in case I FUBAR'd something. I then wrapped them in the plastic shielding stuff before running it.
Getting on with it
The first thing I did was drill the hole in the location I wanted. You can see it below. The bit I used worked fantastically and the outlet is a perfect fit.
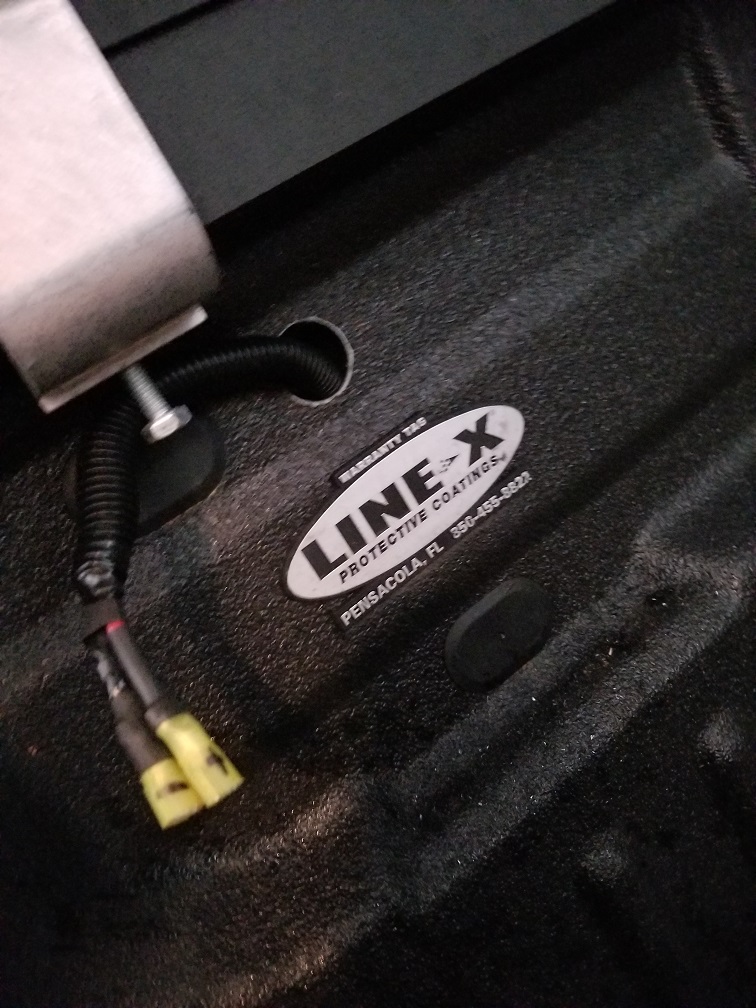
The next best part is figuring out how to run the wires down the chassis. Lucky for us Colorado owners, there is a main bundle of wires that run down the left side.
I ended up following this bundle as closely as possibly, using zip ties to tie the two bundles together, following it straight up into the engine bay. You can see how below.
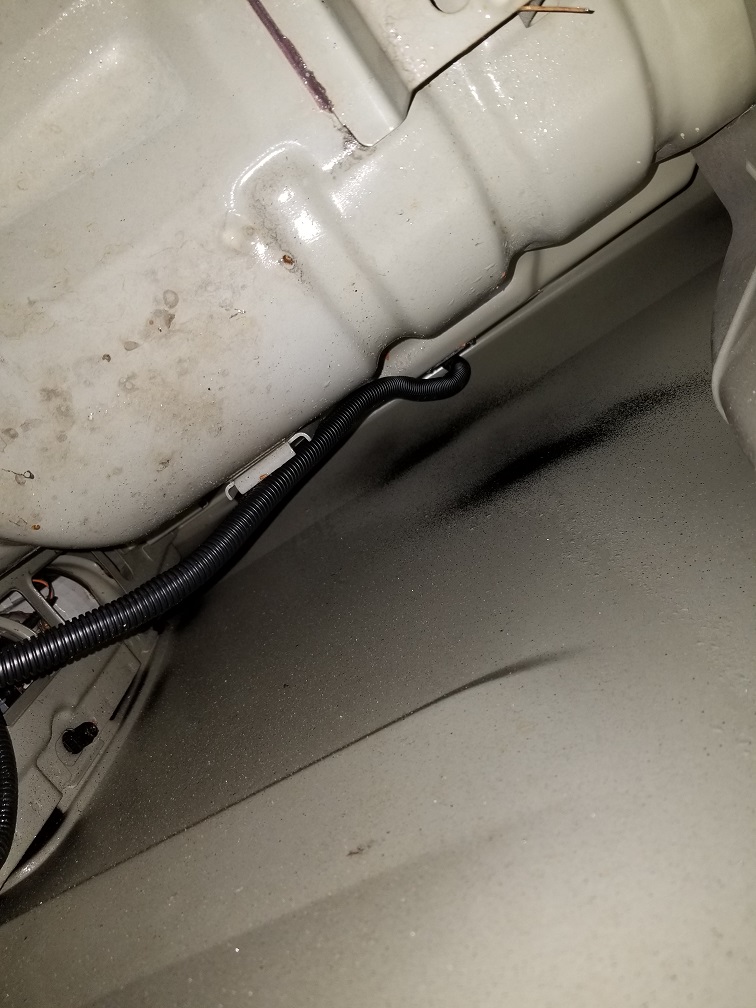
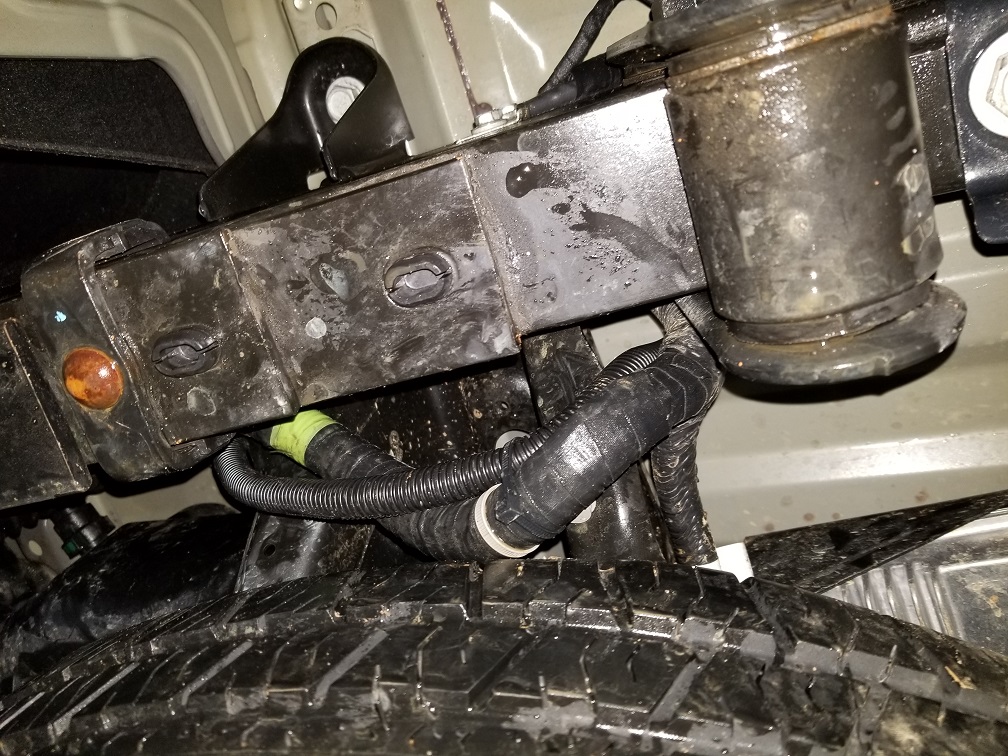
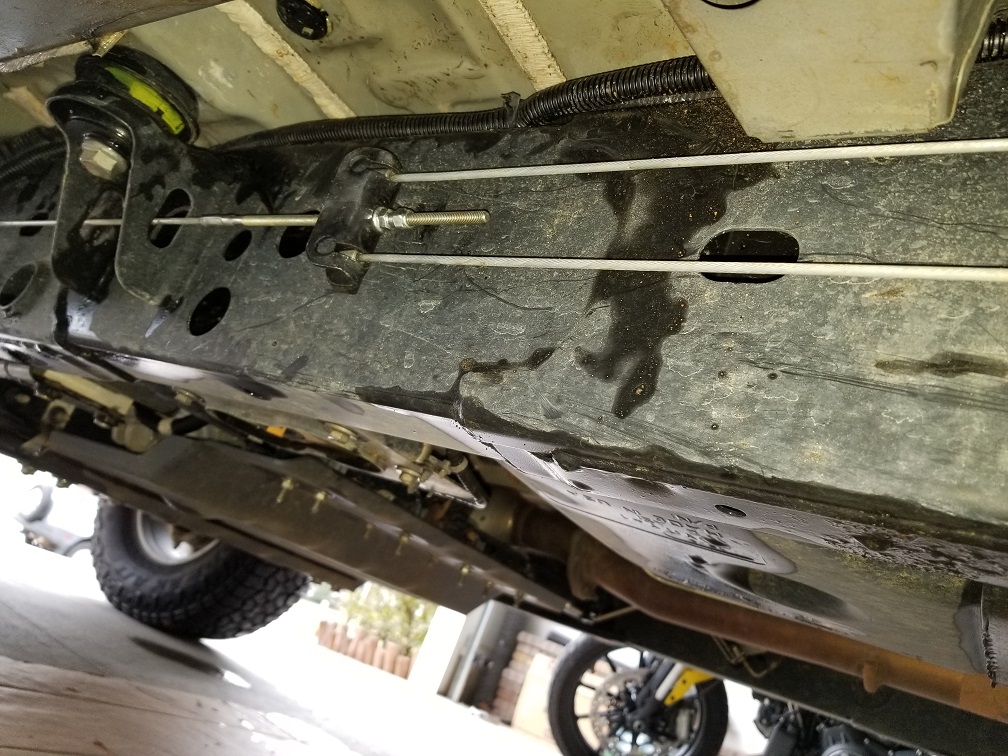
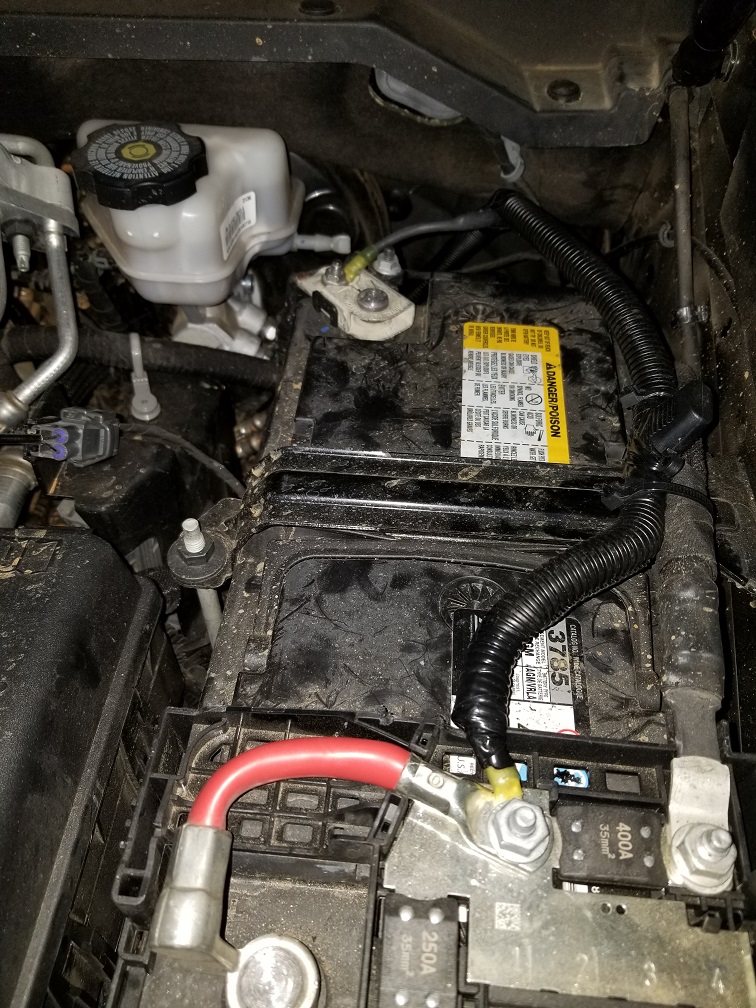
You'll want to be sure to place a fuse as close to the battery as possible. You can see where I spliced mine in above. This is just a 15 amp fuse that should help protect the fridge.
Lessons Learned
I had originally planned (and had done) on placing the fridge so that the power input is facing towards the rear of the truck and that it would be on the left side. Hence placing the port on the left side. This, after a few camping trips, proved to to slightly inconvenient as the lids of the fridge could only be opened from the "inside" of the bedside. Meaning that if I had anything bigger next to the fridge, it was almost impossible to open ( I had two FrontRunner Wolf Packs next to it).
