During my last adventure I upgraded my tent from the CVT Mt. Shasta to the Alu-Cab Gen 3. Don't worry, I'll be releasing a review of the Alu-Cab soon, as I have much to say about the tent. This post will focus on re-configuring the 12v socket I installed in the bed of the truck.
Why? I was having some issues with the blue sea plug and socket, it was not a manufactures defect by any means, but being on some bouncy trails sometimes the plug would come just loose enough for the Snomaster fridge to lose power without me knowing. I would constantly be double checking the connection while on the trail.
My Goal Zero also only has one 12v socket, which the Blue Sea plug does not work with due to its increased length and the rubber seal on it. Or at least I couldn't get it to seat in properly. Why not make use of the small Anderson connection on the Goal Zero?
The Gear
I purchased the following for two different applications, the first is the Snomaster fridge power re-work and the second is the power cable to the Alu-Cab
Note: I will provide Amazon links for as much as I can (prime shipping and all that), however all of these components can be purchased from powerwerx.com if you so desire. In case you're not an Amazon Prime member, click here to join!
- Fridge extension cable: Enter Cable ID 246575
This will pull up the 4FT cable that I used. Adjust as needed. - Powerwerx Panel Mount Housing for Two Anderson Powerpole Connectors with a Weather Resistant Cover
- PP45 Loose Piece 45 Amp Powerpole Contact 261G2
- Gardner Bender HST-750 3/4-Inch by 4-Inch Heat Shrink Tubing, 2-Pack
- 1/4 inch PET Expandable Braided Sleeving – Black – Alex Tech Braided Cable Sleeve
- Either one of these:
- 250pcs Heat Shrink Wire Connector DIY Kit Waterproof Marine Automotive Terminals Set
OR just the 12-10 AWG - 60 pcs Waterproof Heat Shrink Butt Connectors Yellow 12-10 AWG, Electrical Crimp Wire Connectors Insulated Marine Automotive (Yellow)
I'm also assuming you have a crimping device already.
Truck Bed Socket
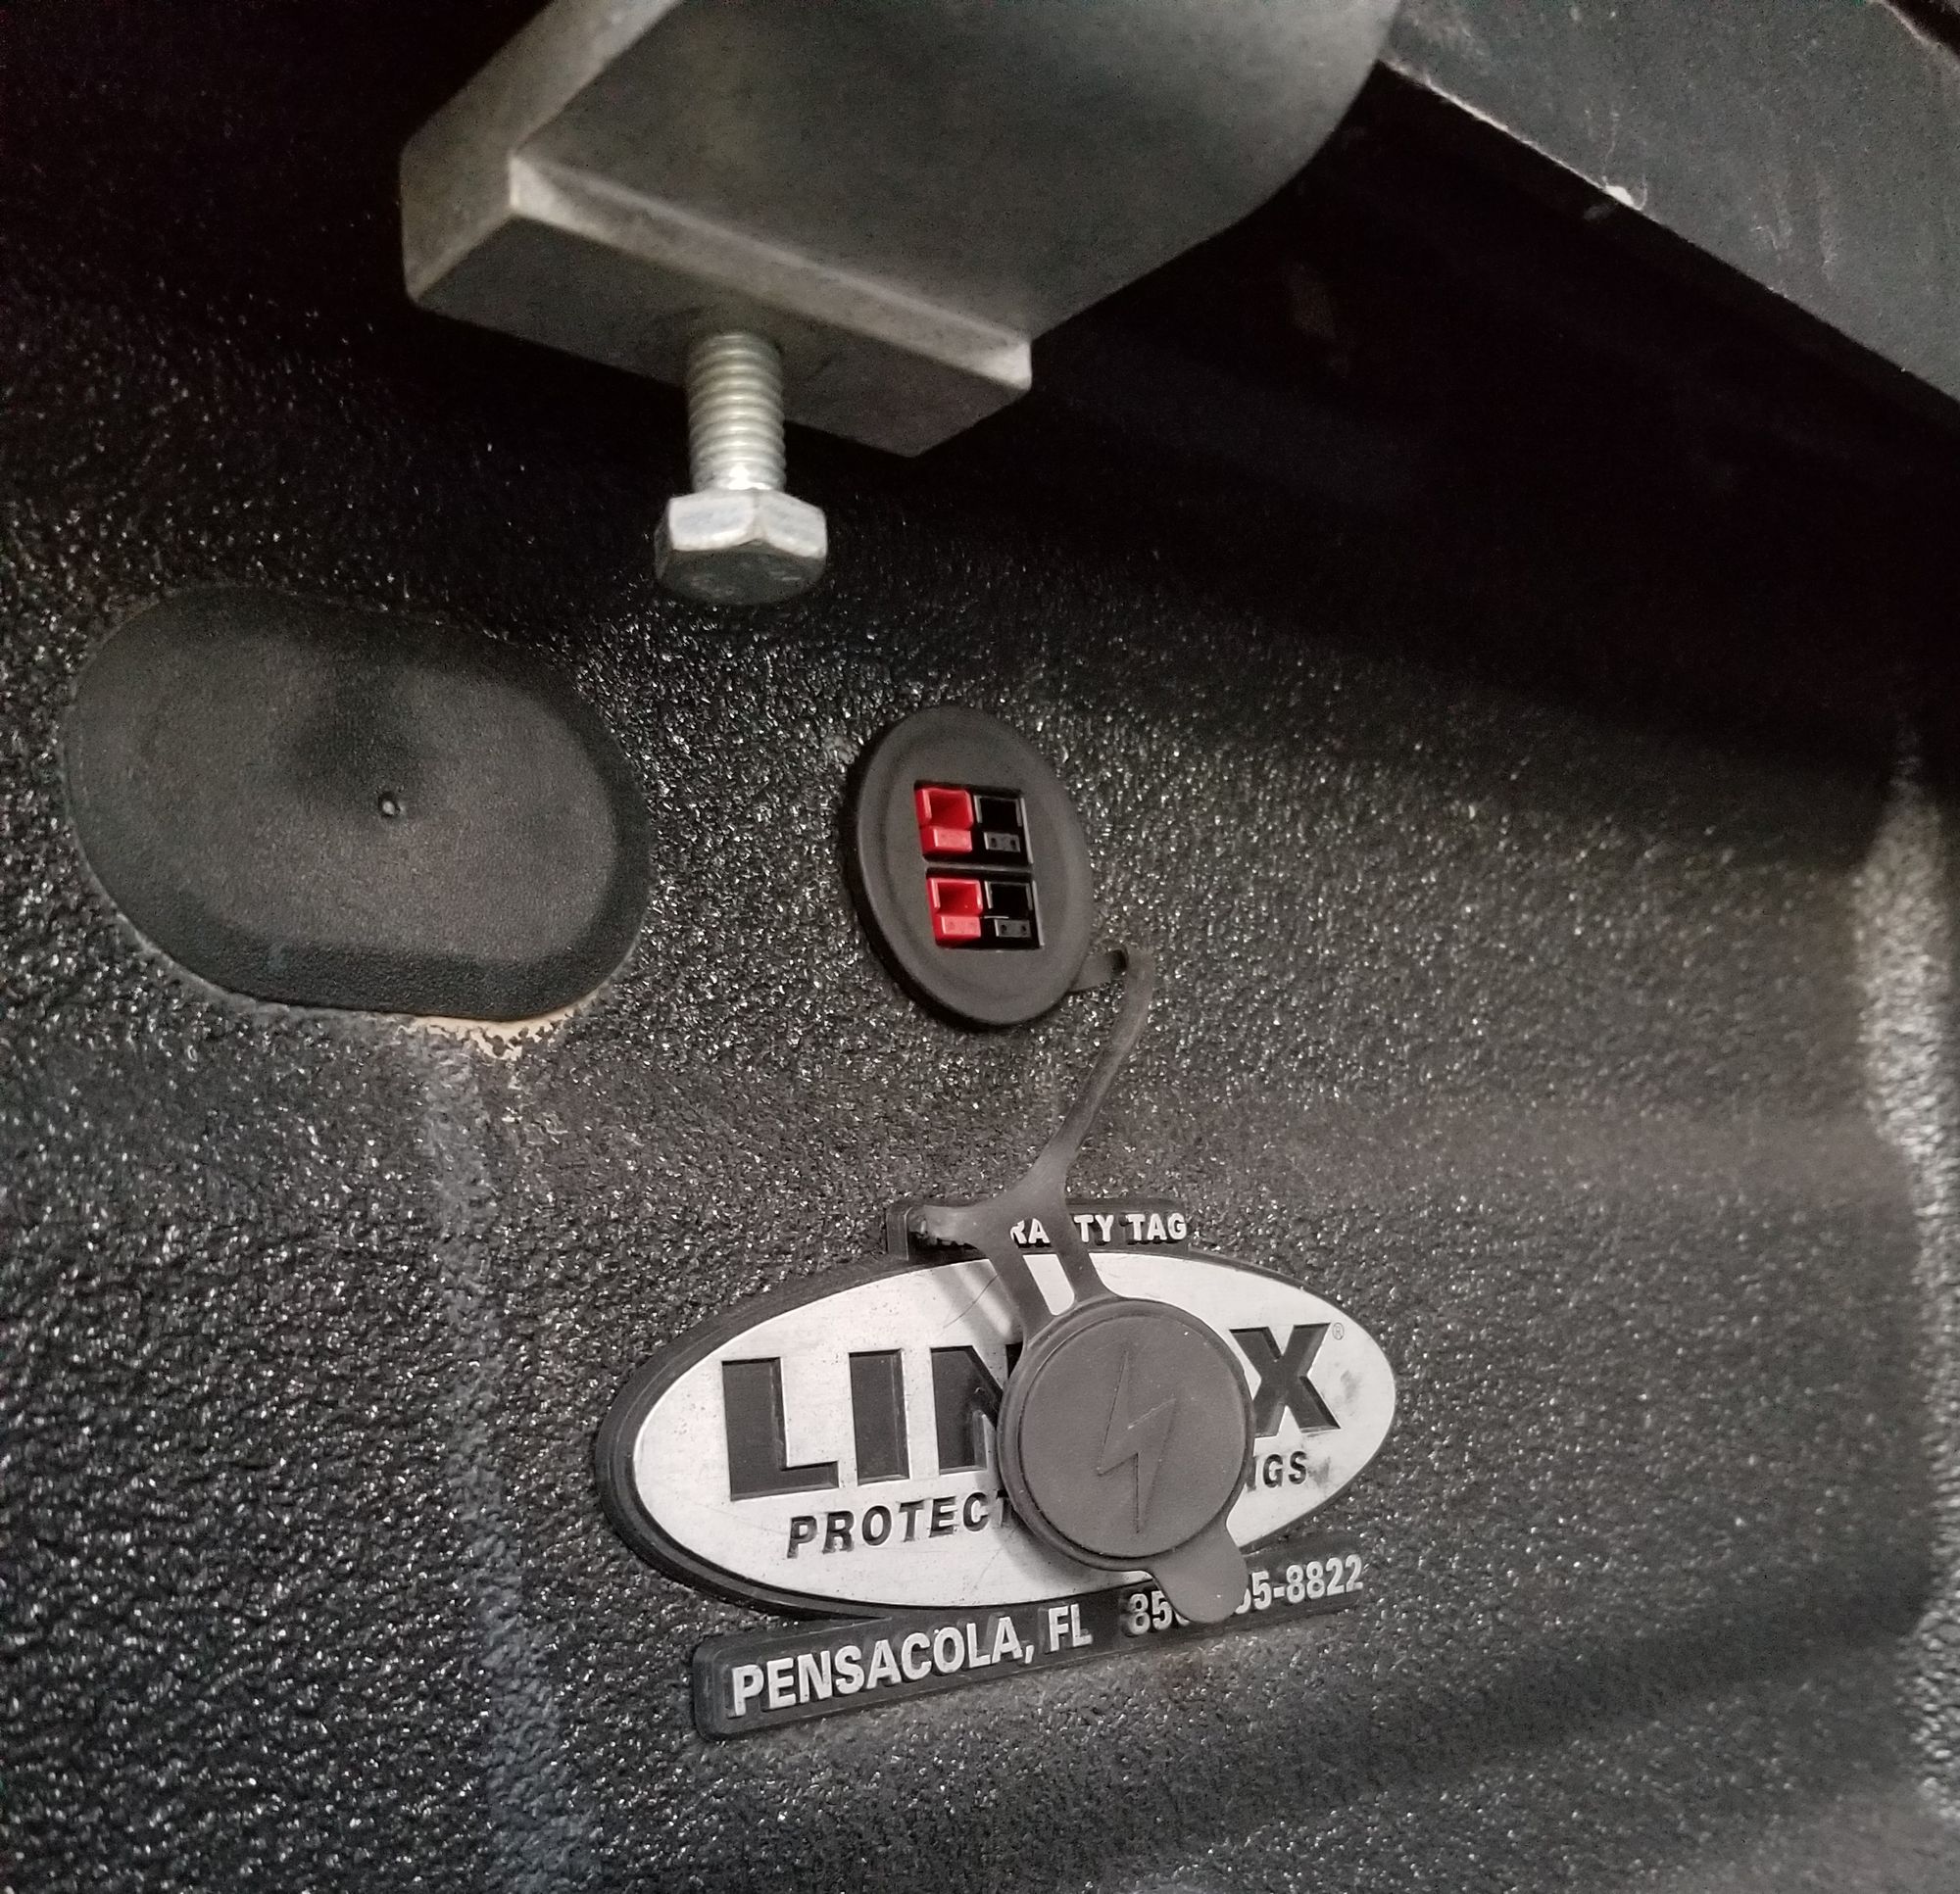
This was easy since I had already ran wire from the battery the Blue Sea socket in the bed, I simply removed the old socket, trimmed the wires and installed two of the PP45 loose pieces onto the ends.
If you've never crimped the ends for the Anderson cables before, I found this video helpful:
Since the new Anderson socket already has the heads, all you need todo is insert the new crimped cables into it like shown on the video, then remount the socket!

I only routed the wire to the TOP of the plug, so the bottom Anderson set is dead. You could wire it like a normal 12v item / switch in series, but I wanted to leave it as a standalone with a seperate cable run for whatever down the road.
Splice the old Snomaster cable
I wanted to save the 12v plug in case I ever wanted to use it for the fridge or another project down the road, so I snipped the plug off with about 4-5 inches of cable on the end. I can use that to splice into whatever.
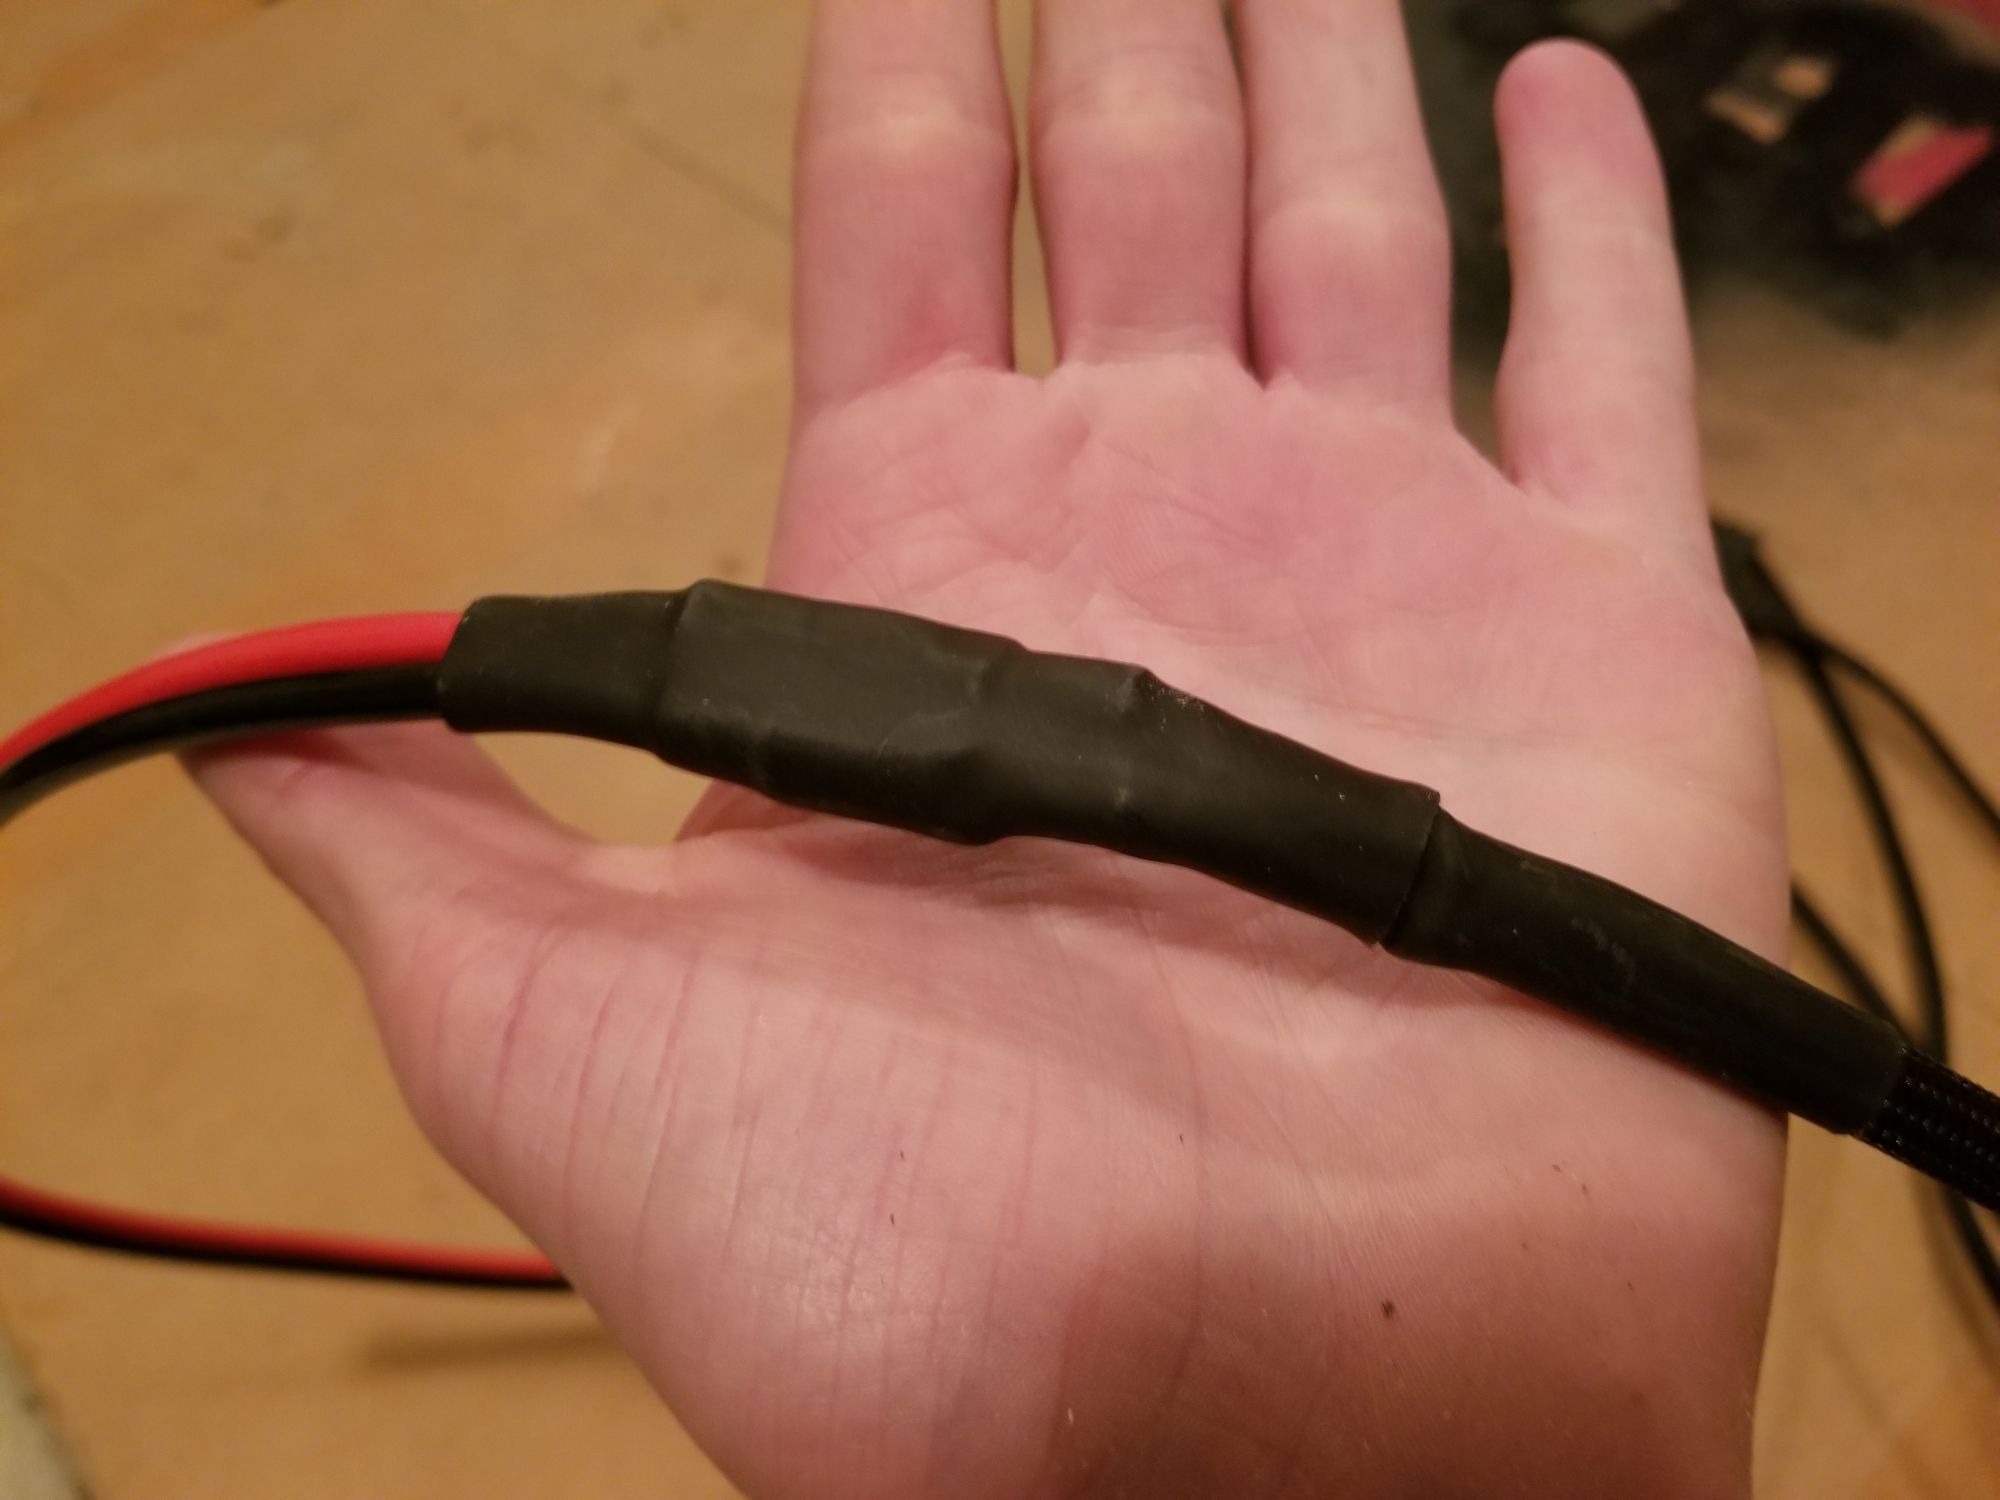
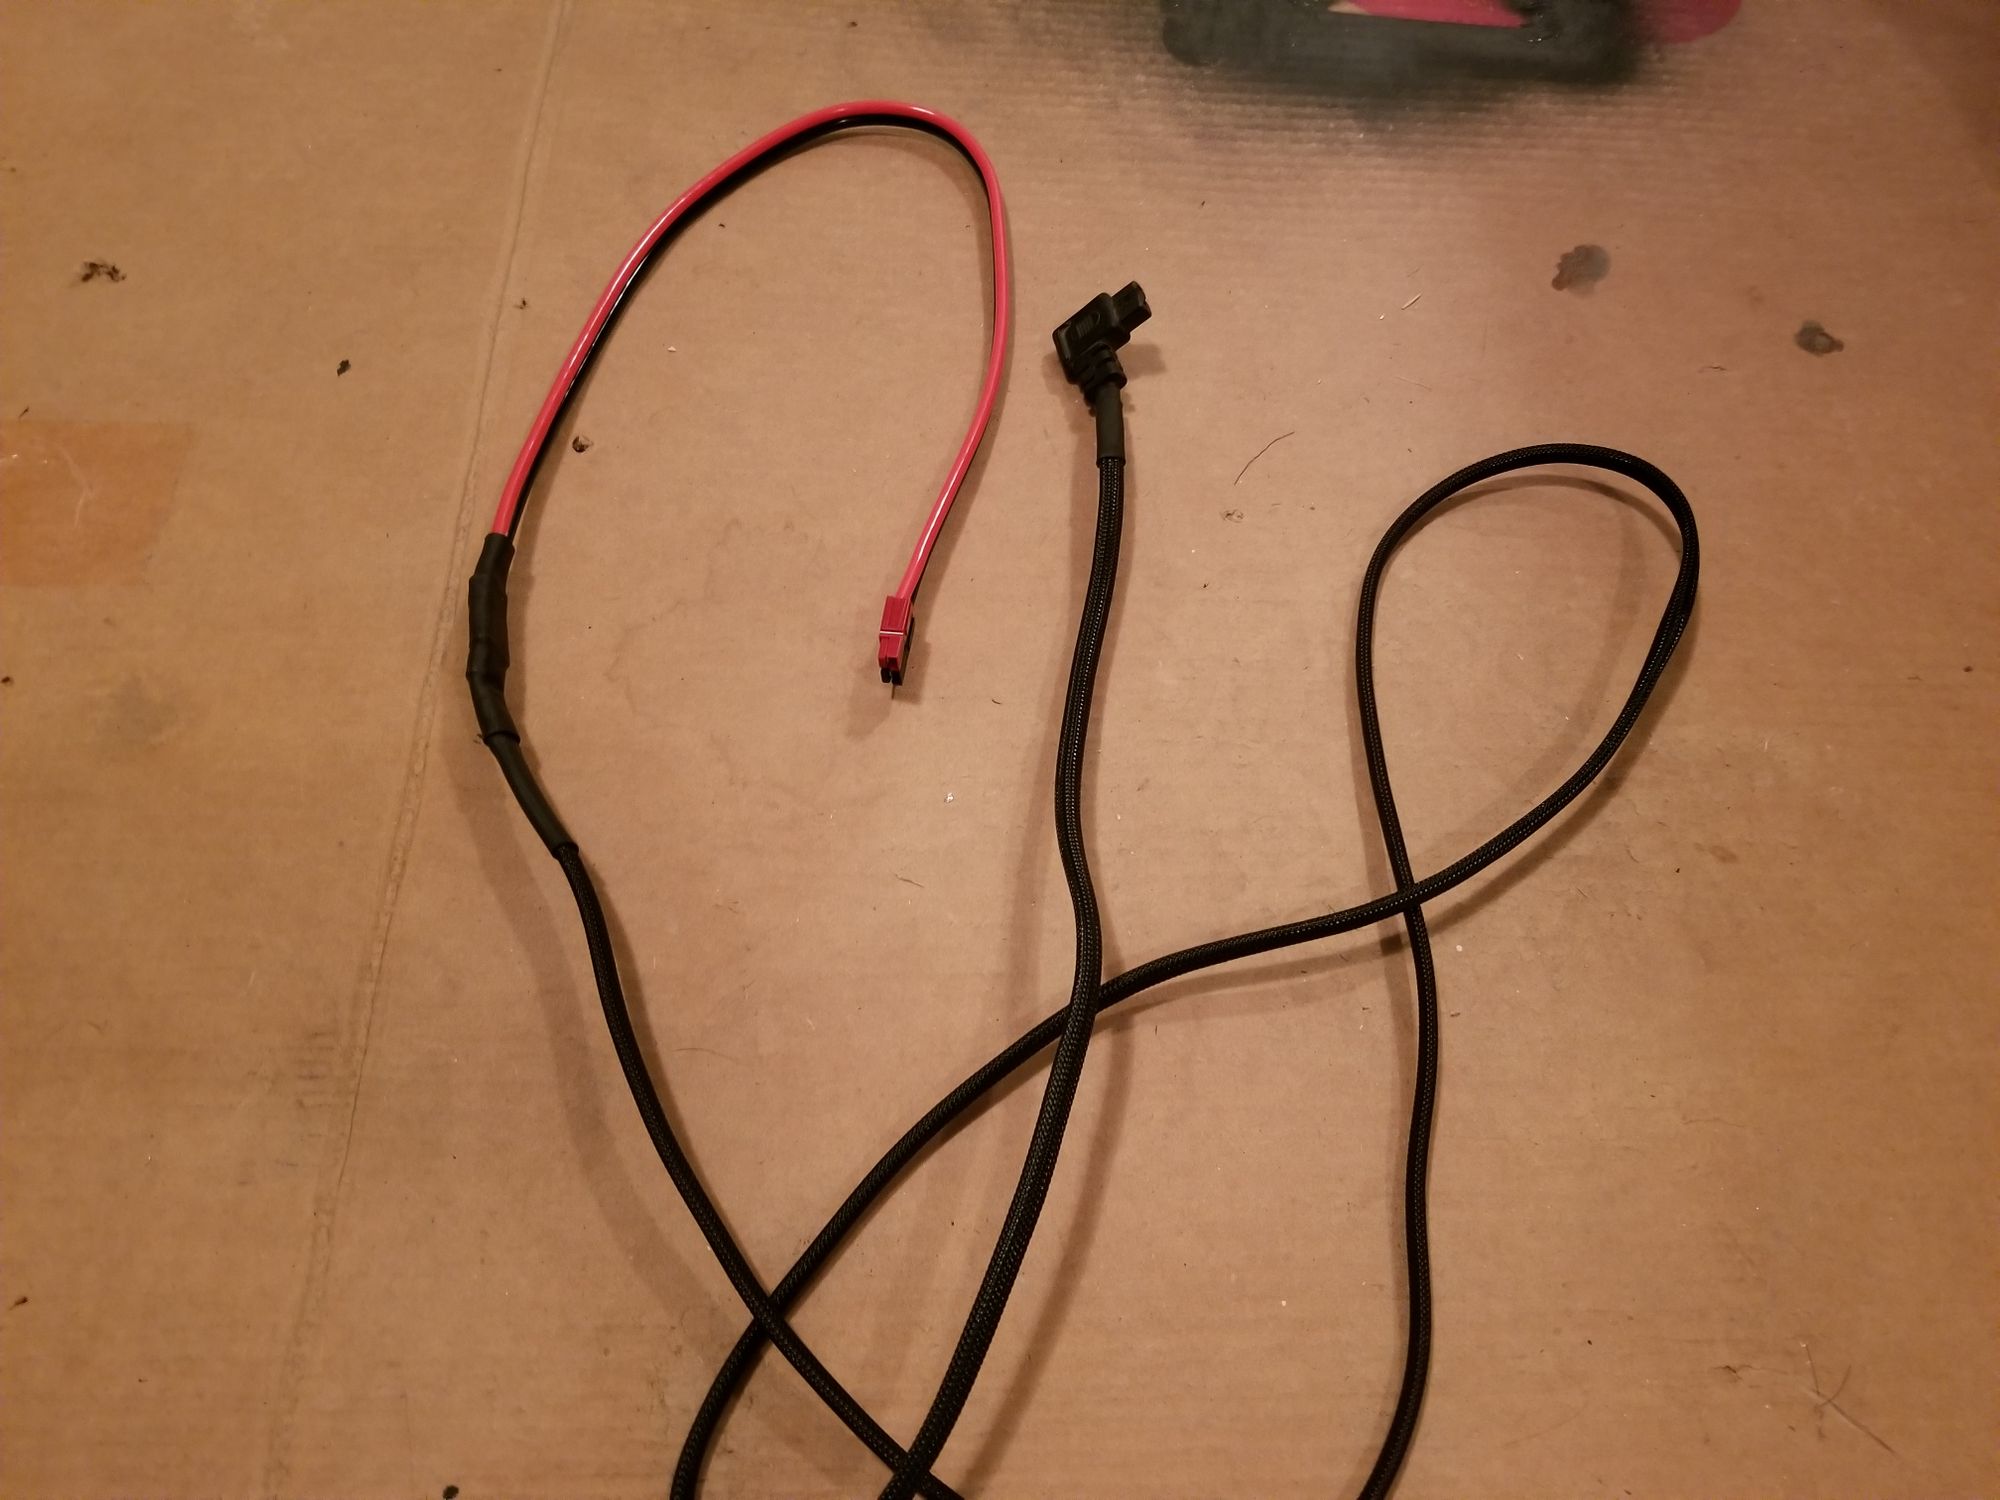
Now its just a matter of stripping and splicing the new cable you bought with the Anderson ends and the old fridge cable.
Here's how mine turned out. Note.... Dont forget to sleeve the OTHER side of the cable before you finish the splice....


Conclusion
Despise my failure to wrap the other end, which I may just bite the loss and cut it down to do it right, I think the cable turned out very nice.
I've ran this plugged in for the last 2 minor trips, nothing crazy, but I have had no issues with it.
Bonus!
The Goal Zero Yeti that I have also has an Anderson output, so I can use the fridge on the truck OR the Goal Zero. Additionally the Alu-Cab has an Anderson, which I had a custom cable made for from the Standard (SB) Anderson plug to the smaller one we used above.

